
![]() Show of hands: how many of you have a fantastic idea for your new book’s cover, but can’t figure out how to create it, and you don’t want to pay a fortune for someone to do it? If you have $95 in your pocket, you can become a book cover wizard. No, this isn’t a sales pitch, it’s a short ditty on how you can master your own cover creation with Book Cover Pro.
Show of hands: how many of you have a fantastic idea for your new book’s cover, but can’t figure out how to create it, and you don’t want to pay a fortune for someone to do it? If you have $95 in your pocket, you can become a book cover wizard. No, this isn’t a sales pitch, it’s a short ditty on how you can master your own cover creation with Book Cover Pro.
When I was about to publish my second novel, I looked into having someone do the full paperback cover art for me. Yeah, I didn’t have $1,500 to burn, so I went with the build-it-yourself templates on CreateSpace. Yes, the cover came out okay, but I truly wasn’t happy with it; so I started searching the Internet for software dedicated to cover creation.
Book Cover Pro popped up in a search engine and I clicked to see what it would do, and for what price. At the time I purchased it, the software package cost about $150 — the prices (thankfully) have come down a lot. For the average author, the Standard package will serve you fine. It includes software (download), images/patterns gallery, user guide (download), and discounts on upgrades and other templates. And should you need technical support, they are pretty helpful.
Since I’m not a total computer guru, I appreciated the easy-to-understand steps. The software will help you with the trim size, spine size (determined by page count), and with positioning the graphics and images in the template. It also has a fairly large font selection which is mighty helpful. And, you can save your cover as a PDF or JPG for uploading to websites. There is even a function to allow you to save just the front cover for your eBook. Let me show you how easy it is to use.
This is your “dashboard” control center: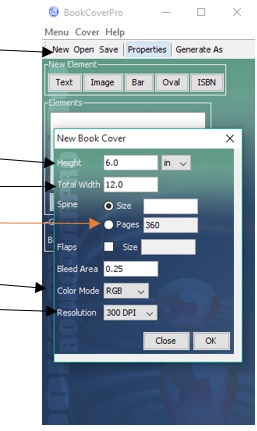
By clicking “NEW” it will take you through the steps to determine the size, number of pages, and resolution you want the image saved in. The color mode is used for printing (some printing companies want CYMK, while others want RGB). Total width is VERY important! This is the sum of the front AND back covers. If your book’s trim size is 6X9, then your total width is 12”— don’t worry about spine, when you enter the page numbers, the template will automatically calculate the size.
When you have everything set, click OK and your template will appear next to it. If your computer screen is small, you might have to click and drag the corners out to make it bigger.

The next step is to choose your background color (if using one). 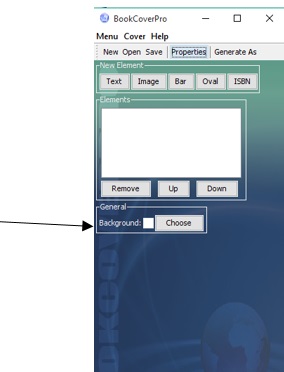
Then it’s on to inserting images and text. The program works on the “layers” system — each piece you add becomes another layer on the cover. If you have experience using Photoshop, it’s the same principal.
If you want to add an image, click the IMAGE button and it will prompt you where you want to take the image from (usually your computer). 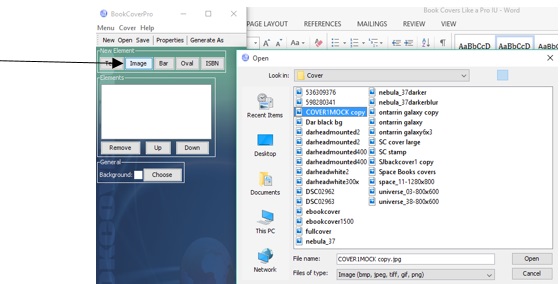
Once you select the image, it will pop into the template. Then it’s up to you to click on the image, drag it to the desired location, and then position and resize it.
After you have the background and base images, you can move onto adding text. Simply click the TEXT button and it will move you down to a box where you can select the font, size, orientation of the lettering, and any shadows, bold, or italics. There is a surprising amount of lettering work you can do in this program.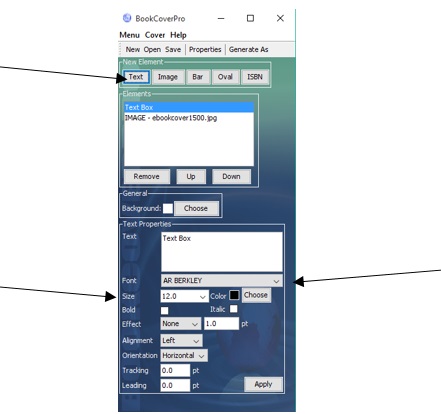
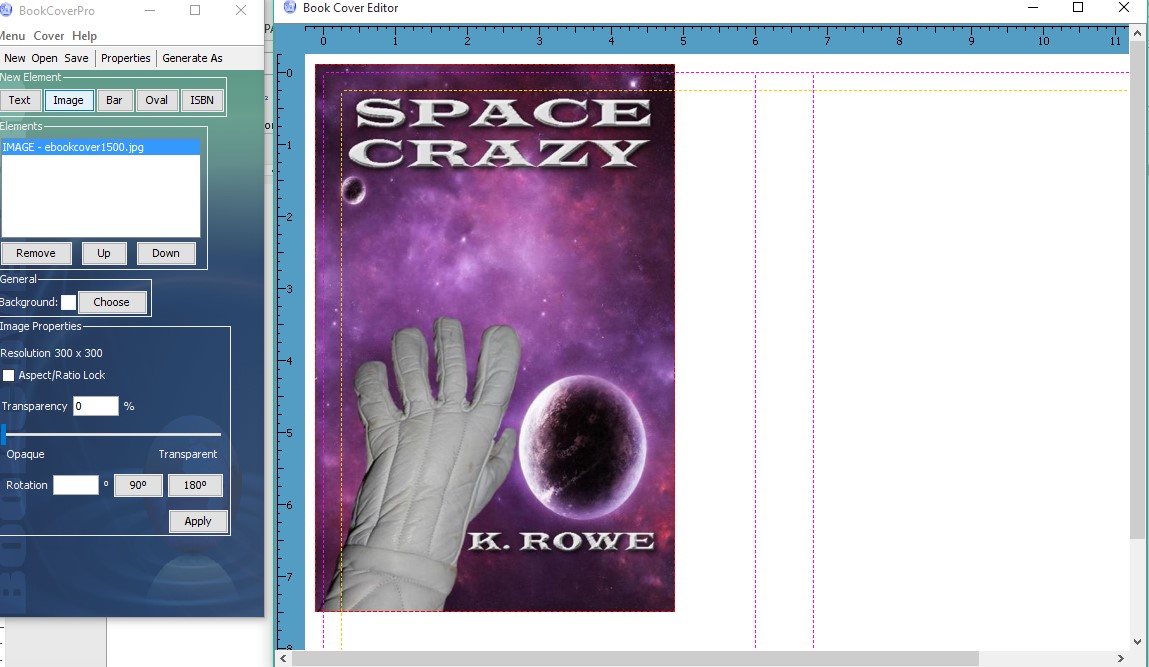
Once you get done with everything, you should end up with a cover that looks like this:

There is even a place where you can insert an ISBN if you have one. You need to have a 10 or 13 digit number and you must know the price as well. This is really handy and gives you books a professional look. (If you’re confused about ISBNs, later this month our Laurie Boris will have a special feature on it just for you!)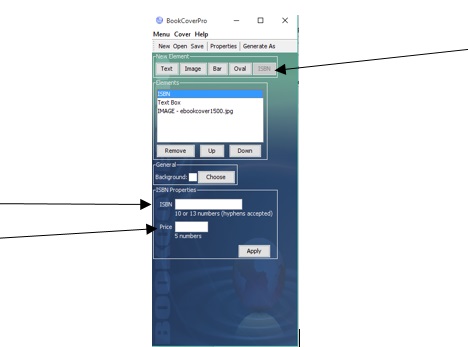
If all the great free book cover services we’ve shared with you here at IU just haven’t seemed to cut it, Book Cover Pro might be for you. With a price tag that won’t damage your wallet and ease of use, it’s handy if you plan on doing your own covers. And, if you get good enough, you can offer services and make your purchase price back in no time.
Very informative post. I’m currently with a smallpress that provides covers, but it’s always great to learn what’s out there. Thanks for sharing your experience.
I sometimes do work for a small press and I believe I suggested they invest in this program. Much cheaper than it used to be. I’ve paid for mine many times over doing covers for clients.
Createspace gives a great template for getting trim size and layout, and it’s free. I have always done my images and lettering on an old version of Photoshop that runs on an ancient iBook, but I can’t afford the new pay-per-year pricing of Photoshop. Gimp is free but just too awkward to use. So I’m interested in anything that will do the job for less.
Thanks a lot, Kathy.
Gordon, I use Paint Shop Pro, which has about 85% of what PhotoShop does, but is much easier to use. I find it very intuitive. And it’s much cheaper than PS, too.
I wasn’t happy with how my CS template looked, so that’s why I invested in this. Now I can put together nice covers fairly fast.
I’m not there yet. Sigh.
Sounds pretty easy and very useful. I will check it out. Thanks!
They used to do a free trial, not sure if they still do.
One of the biggest things that’s been making me nervous about self-publication is coming up with a professional looking book cover. Thanks so much for sharing this information – I’m definitely going to look into it!
Great!