 Ever since our post about Instagram for authors a couple of weeks ago, we’ve had numerous requests for a tutorial on using this social media platform. You can view that post here and decide for yourself if this is the right platform for you. It apparently is the right platform for Facebook, because they purchased Instagram for a BILLION dollars a couple of years ago.
As we discussed previously, Instagram is designed to run almost exclusively as a mobile app. You can find details on how to convert your desktop into a mobile app in our previous post. From there, the process is the same to use Instagram.
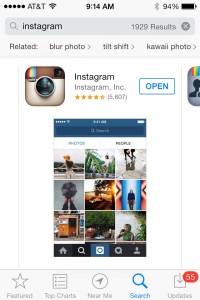
Download and Install the App: Go to your App Store and search for Instagram App and download.
Setup: The default security on Instagram accounts is public. You can set the network to private and handpick those who can see your pictures but that kind of defeats the purpose of Instagram if you are using it as part of your author platform. You can make changes to your profile through the profile tab. Here you can change your picture and edit your information. You have up to a 150 character bio and the option to include a website.
![]()
Settings: You can control your settings by clicking the “Settings” wheel in the upper right-hand corner of your profile page. Here you can adjust privacy settings and most importantly, you can adjust push notifications. Scroll down to the “Preferences” section to set your individual choices. You can be notified of things such as when someone likes your photo or when you get new followers.

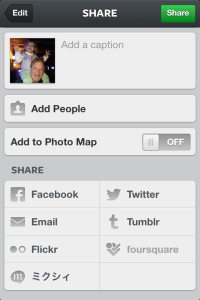
Sharing: One of the great features of Instagram is the ability to share across multiple platforms. In the “Preferences” section, click on “Share Settings” to connect with Facebook, Twitter, Tumblr, Flickr, and Foursquare.
Photos: Now, we’ll get down to the real reason for Instagram — pictures! It’s very simple, click on the blue camera icon located in the middle at the bottom of the page.
![]()
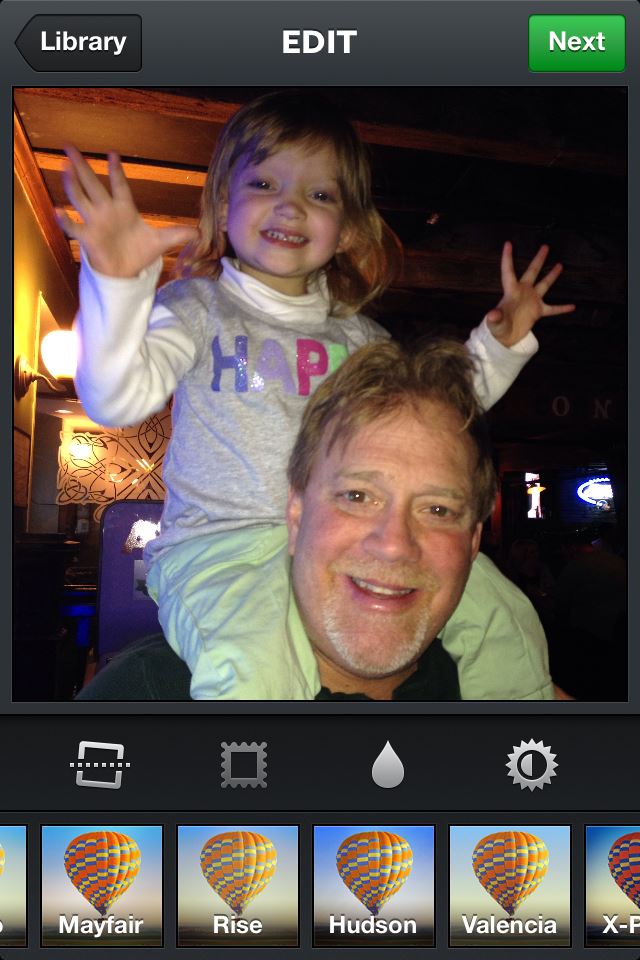
Now you can take a picture/video or choose from your picture library on your phone. Instagram crops to a square, so you will need to select the area you want in the picture and select “crop” in the upper right hand corner.

Now the true time-waster comes into play. Instagram offers about 17 options for adding filter and other appearance altering toys. You can play with these to get the look that you want, everything from vintage to black and white. In addition, you can a tilt-shift to focus on certain portions of your picture by tapping the water drop icon. Finally, if you wish, you can select the sun icon to apply an auto-enhancer that brings enriched colors to your photo.
Hashtags: Probably more than any platform other than Twitter, Instagram is a great place to Hashtag (#). Once you’ve got your picture ready to go, you’ll have the ability to add brief comments including hashtags and @mention’s. From this screen, you can elect which platforms to share your photo and add a geographic locator.
Building a Base: To get the most out of Instagram, it’s best to build followers. You can do this through the profile tab and the settings wheel. Click on “Find and Invite Friends” option and have at it. Another great way to develop a following is to search through the “Explore” icon (it looks like a compass on the bottom of the main screen.) You can search by hashtags or user names.

Now, you have the basics to get started. Just like any platform, engaging with meaningful content and connecting with others is the key to success. Spend some time searching by hashtags with topics of interest to you or your writing. Like other pictures by clicking the heart icon. Most of all, have fun with Instagram.

I really like Instagram after being there since last August. I recently upgraded my phone and in part picked one with a great camera option to use with Instagram. I can post pictures anytime I carry my phone and link them to Facebook and Twitter with a single post. I post pictures from book signing events, my musical performances and anything that will interest my followers.
I am really looking forward to trying this. I’ll give it a shot tomorrow morning. Thanks, Jim!
Thanks Kat!
Hi Jim,
I’m glad I bookmarked this post. Great tutorial! Sharing.