 A few weeks ago, our Jim Devitt wrote a tutorial on How to Get Started on Instagram. Since I am always taking photographs, I figured this would be a great app for me. It seemed like everyone else was on Instagram, so it made sense to finally take the plunge. I was very grateful to have Jim’s article to guide me through.
Being a technological dinosaur – and that’s Ms. Megapnosaurus to you, thank you – I needed a little bit more hand-holding. So here are some tips that might help those of you new to smart phones and apps, and all that other newfangled stuff.
Jim has already shown you how to download and install the Instagram app here. Make sure you do that, and you’re ready for what comes next.
Your Profile: Setting up your profile is pretty vanilla. Since I am not that great at typing on my phone, and my voice-to-text consistently believes I’m speaking Swahili, I decided to do that part of the set-up on my computer. It’s really one of the only things Instagram will let you do via computer without downloading apps (as Jim talks about here).
Just login to Instagram, and from your homepage, click on your user name in the upper right-hand corner. Clicking Edit Profile will take you to this page:
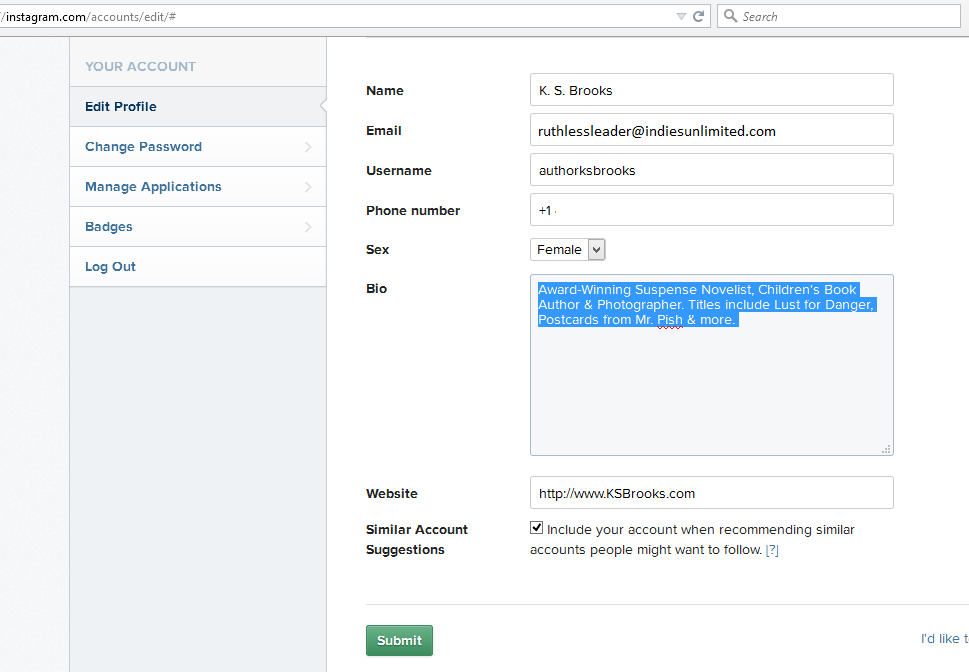 The other reason I liked setting this part up on the computer was because I could copy and paste from other bios. (No, I still haven’t figured out how to copy and paste on my phone! Stop snickering.) That made it easier for me. Type in your information, then hit submit.
Linking to Other Social Networks. Don’t be a big dummy like I was on this one. Linking does NOT means sharing. I’ll explain why later. But first, you must link to your other social networking accounts if you want to make the most of what Instagram offers.
Back on your phone, from pretty much any screen you’re on, click the little person (#1 below) in the bottom right-hand corner. That will take you to your profile.
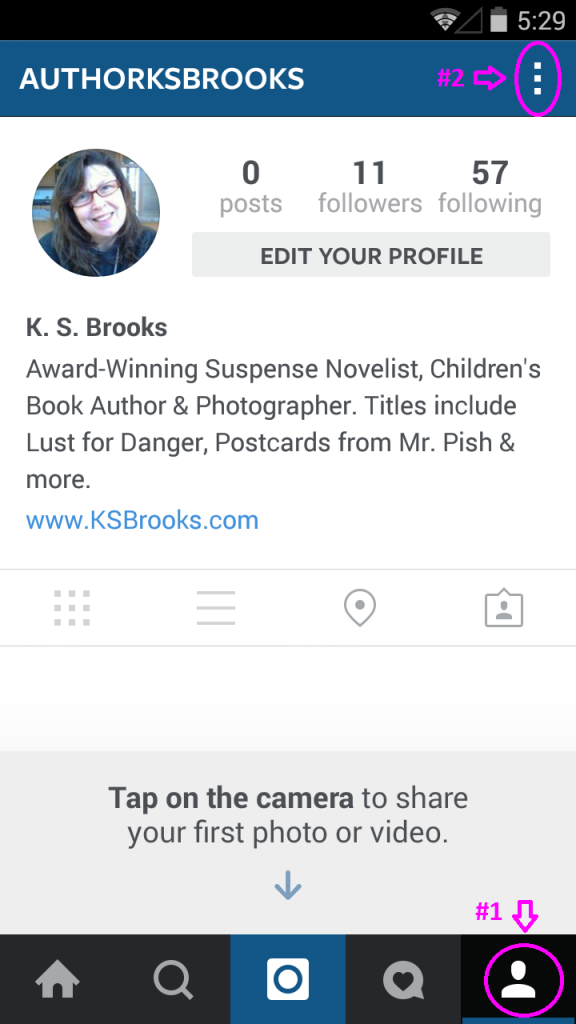 Once you are on your profile, click the three vertical dots in the upper right-hand corner. That’s #2 above. That will bring you to your Options screen. Scroll down until you see SETTINGS, and then Linked Accounts. Clicking on that will bring you to a new screen which lists a number of other social media networks.
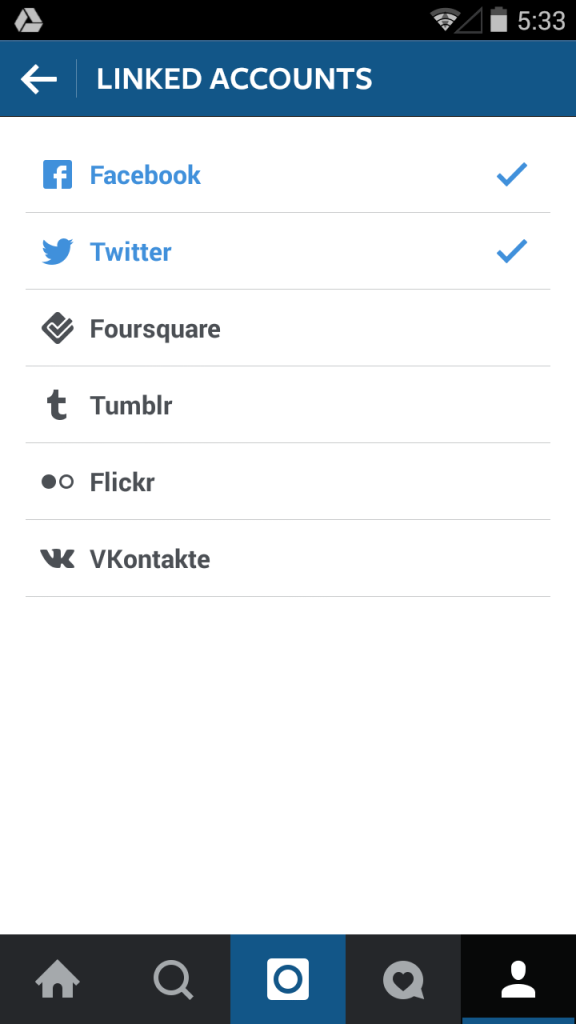 Enter your information on all of them. Trust me on this one. Just do it. I even opened Flickr (photo sharing) and VKontakte (the European Facebook) accounts just to take advantage of Instagram’s convenience. (Note: setting up Flickr is kind of a nuisance. You have to have a Yahoo! account to do it – as best as I could tell.) And yes, I pulled another bonehead move and set up a Foursquare account, not even knowing what it was. You may want to look into that – ask around – before you take that leap. Once these are set up, you are ready to take your first picture!
Taking Your Picture. This is so easy even I could do it. The cool thing is, if you don’t take a picture with Instagram, you can hop over to the “gallery” of photos stored on your phone and use one of those.
Cropping Your Picture. If you choose a photo from your gallery, Instagram will crop it into a square. So portrait, landscape, panorama, it doesn’t matter – you will end up with a square. Which square? I don’t know. I used to think (up until yesterday) that if you wanted to control which part of your photo showed up, you would need to trim it using your phone’s software first. I made a lot of extra work for myself. Because…Instagram makes it sooooo easy! If you just touch the selected photo, some gridlines will appear. Then, just drag the photo so the part you want to show is visible, and then click the light blue arrow in the upper right-hand corner to go to the next step. Easy!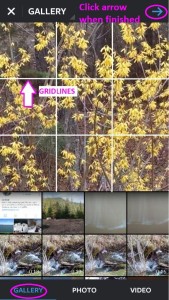 Writing Your Caption. When you type in your text, don’t forget to use hashtags! You can search a hashtag on Twitter to see if it’s used, and how often. Maximize your results by researching them to start. After that, Instagram will autofill them for you if you type in the # and the first letter. So convenient!
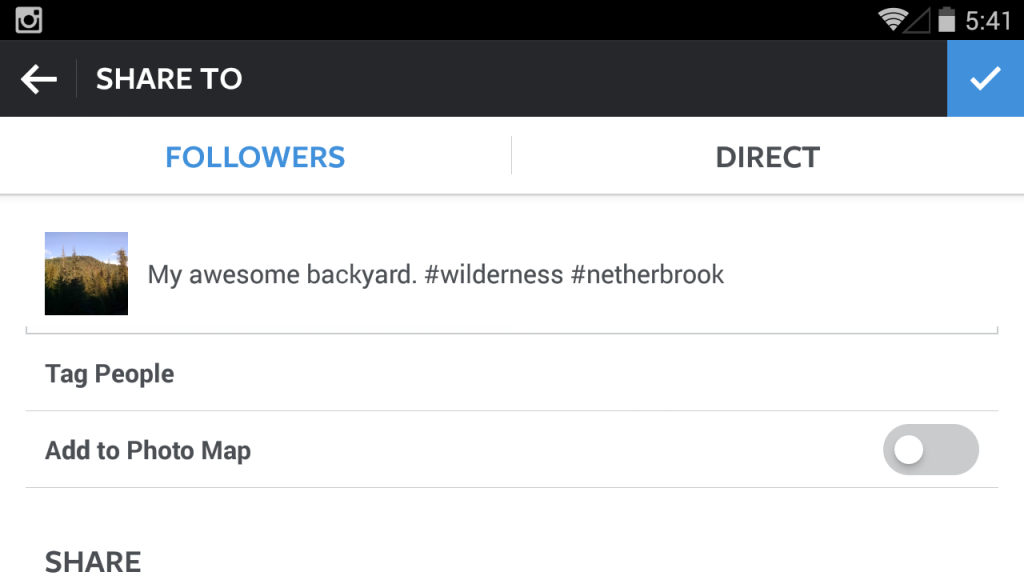 Sharing Your Picture. This is where I was a BIG bonehead. I linked all my accounts – for crying out loud – why aren’t my photos showing up on Facebook and Twitter?! Because technology in the hands of a bonehead is bound to fail. Linking your accounts gives you the ability to share – if you want to. With each photo, you need to scroll down to the SHARE section. If you’ve got your phone on landscape mode, you won’t even realize those options are there. (See photo above.) I had no idea there was anything below that. Oy. All I had to do was scroll. In portrait mode, on Jim’s phone (below), you can see them easily.
 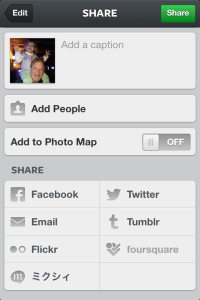 You can click all or none. When I post photos of gluten-free food, I don’t include Flickr. So it pays to have your account linked to all of them when they make it so easy to choose for each photo.
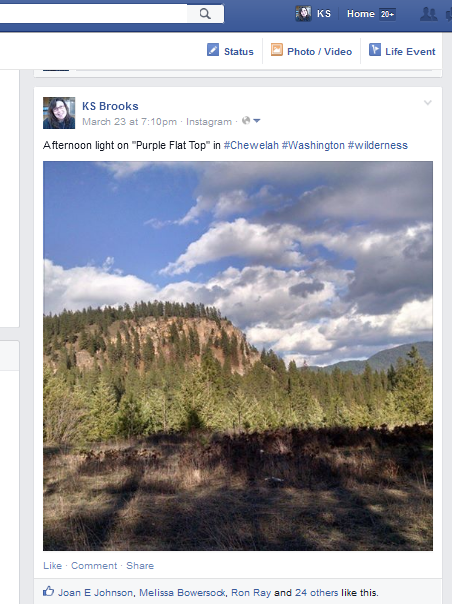
And here’s what your post will look like when Instagram so kindly shares it to Facebook:
 So easy. So fast. So fun. Just do it. And do it today, because tomorrow we’re having an Instagram follow-fest!

Good images always get more interaction than simple posts. Every Facebook post I make automatically goes out as a tweet so when I post on Instagram and share to Facebook, one post goes out on three networks. I recently upgraded my phone, choosing one with a better camera and photo options specifically to take better photos for Instagram. I can take an interesting photo and post it in seconds anytime I am carrying my phone which is pretty much 24/7.
A couple issues I haven’t been able to resolve is that Instagram doesn’t give me an option to share to my page rather than my personal timeline. Then it won’t let me share from my timeline to my page so I have to download and post the photo if I want it on my author page.
Despite this, Instagram reaches a different, younger demographic than Facebook and Twitter, expanding the reach of my author platform. You will see my link on tomorrow’s follow-fest.
I also wish that Instagram would let us post to pages as well as our timeline. The other thing I noticed is that when it posts to my Facebook timeline, it is automatically defaults to a “friends only” privacy setting instead of public. I am really having a lot of fun with Instagram. See you at the follow-fest tomorrow, Richard. 🙂
Actually, if you link your Facebook on the Instagram app, you should be able to tell it where to share your photos. I use Instagram for myself as well as for my two part-time jobs. I manage a total of four Facebook pages, and I can tell Instagram which of those four to post to.
I don’t remember what it looked like when I set it up, but once it’s set up, It should say “Share to” and have a place to tap and select whether you share to your personal timeline or one of your pages. 🙂
You know – now that you say that – I do recall seeing that when I was in the “link” screen, not the “share” screen. I’ll have to take another look at that. Thanks, Stephanie!
I still don’t see the purpose of Instagram, especially as it relates to writing.
I post images from my book signing, public speaking and musical performance events as well as photos that relate to my writing interests.
The purpose is the same as any social media outlet, Alejandro – you do it to build a following. Pictures make it so convenient, and people love them. Carol Wyer wrote this great post about how she uses it: https://indiesunlimited.com/2014/05/13/is-instagram-effective-for-writers/ And I basically post photos of the things I write about on my blog, and include a link. If you don’t take photos, it probably isn’t a good fit for you, but I get a great response to each photo I post – both on Instagram and on Facebook.
Kat, thanks for filling in the missing pieces. You’re much better at tutorials than I.
That’s sweet, Jim, but I think your tutorial was fine. I’m just not very savvy with this stuff and fumble around more than most. 🙂