 Guest Post
by Candace Williams
RJ Crayton’s inspiring article, Authors Can Make Book Trailers With YouTube’s Free Editor, came along just when I was starting to make a book trailer in iMovie. IU asked me if I’d write an article about it for all of us Mac users. Of course! This will be in two parts. Don’t worry about the volume of information. I’ve broken the whole process down to just four basic steps to guide you. In this post, I will concentrate on the preparations, and in part two, the actual creation of the book trailer.
Before we get into iMovie itself, there are a few things you should do to make the process easier.
- I highly recommend writing a script for your trailer. (I did mine in a Word doc, but you could use index cards or anything you like.) This will help you feel less intimidated when staring at the blank iMovie slate – you’ll at least know where you want to go.
- Get all your images together in one folder so you can easily import them. Don’t know where to find free images? Indies Unlimited has some links on their Video Trailer Resource page that you should find useful.
- Have your music ready. You can find links to free music on that resource page as well.
1. Choose a Template and a Theme (or not)
Open iMovie. This app is specifically for creating movie trailers, but you can adapt it for your book trailer.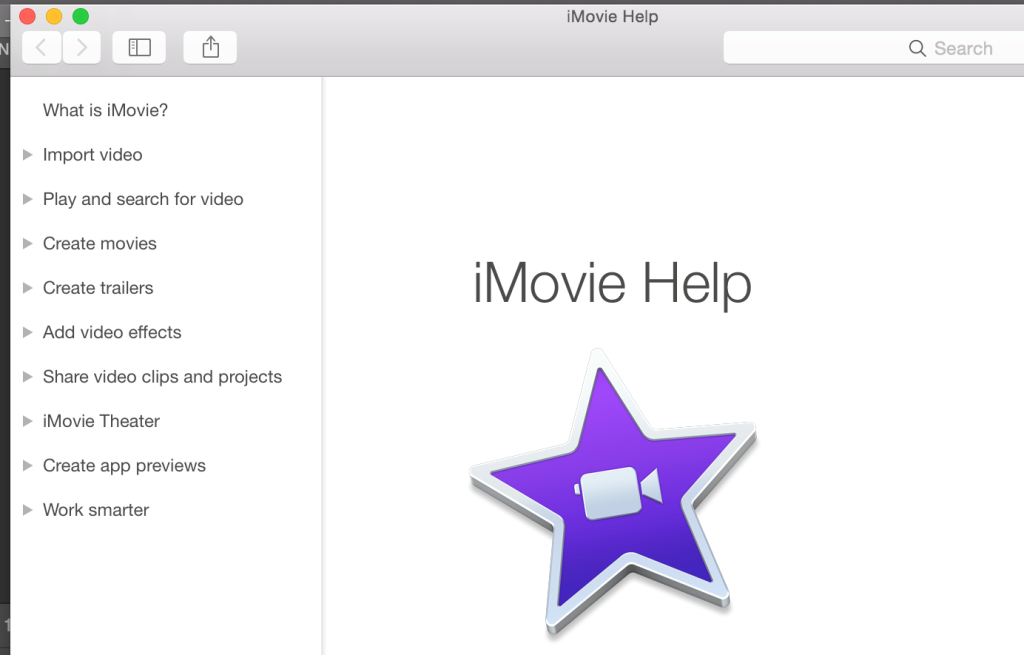
To start, click Help on the bar across the top of the screen and select iMovie Help. A menu appears on the sidebar. It includes Create Trailers. You can make a trailer using your choice of templates based on different genres, music included! How cool is that?
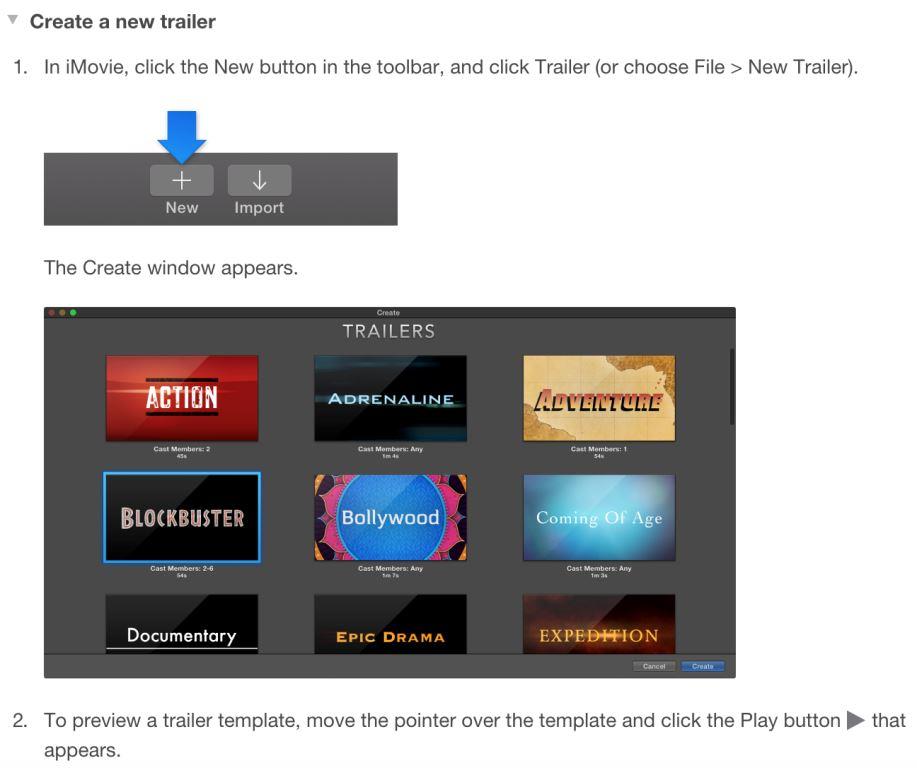
After looking at a few templates, I decided they were too limiting for what I had in mind, so I selected Create Movies instead. You’ll see a choice of themes for your trailer.
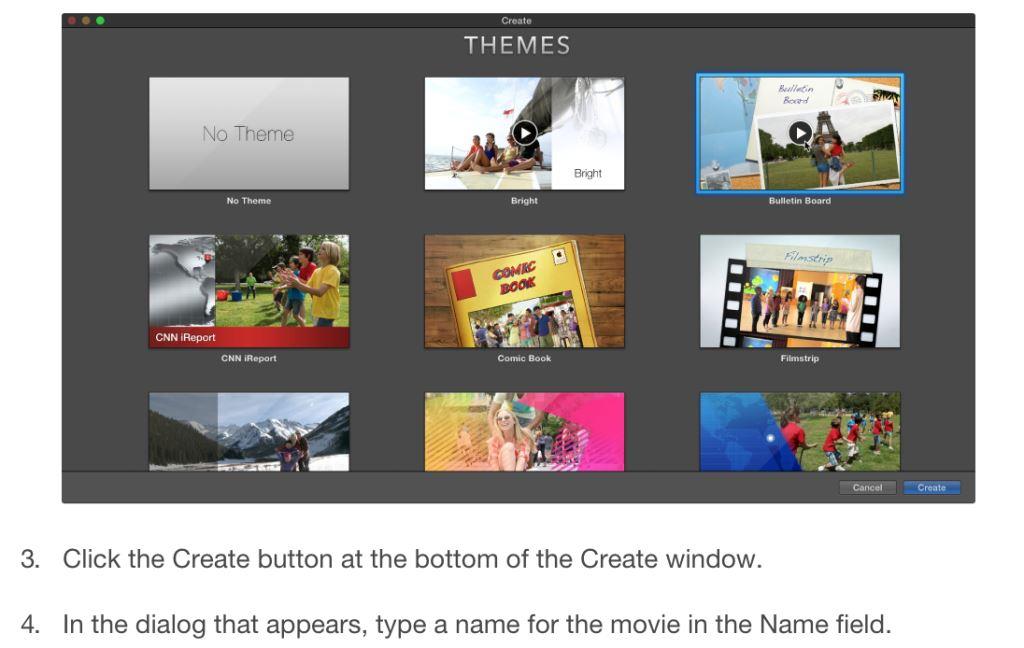
I selected No Theme. If you use a theme, iMovie will automatically add titles (title templates, actually) and transitions (e.g., fade-to-black.) In No Theme, you will have the option to select the titles and transitions you prefer.

After making your selection, click the Create button. You’ll get a pop-up asking for the title of your trailer and also something called an event. For purposes of this article, I chose “Demo” for the title, and a date for the event. Click OK.
Tip: I had to call Apple Support on this one because a default event named 3-21-15 already existed in the app, and the pop-up simply would not let me change it. The solution: Instead of trying to change it in the pop-up: (1) click Cancel on the pop-up, and (2) click File on the bar at the top of your screen and select New Event. The current date will appear on the left sidebar inside a highlighted box. You can leave as is, or click on the box and name your event “Book Trailer” or whatever.
2. Upload Your Content
I had been collecting pictures for my trailer and put them in a folder on my Mac’s Desktop. I added an audio file of royalty-free Japanese music. Click Import at the top of the screen to begin upload.
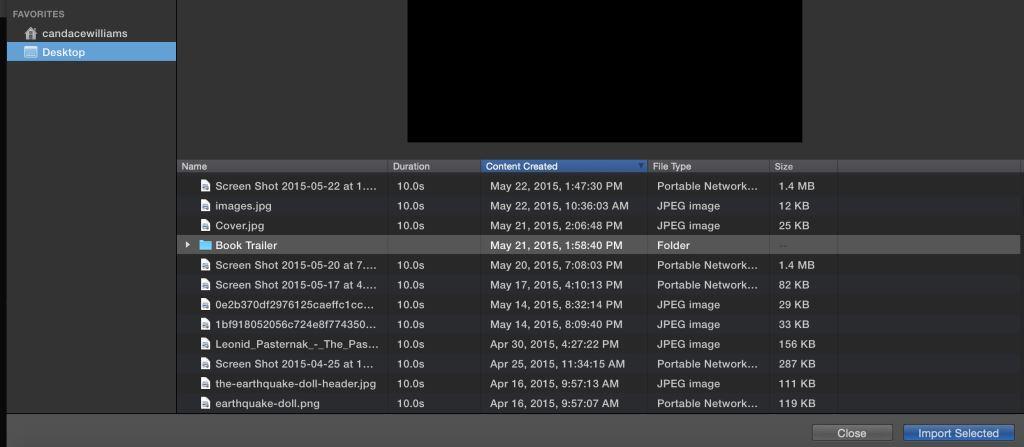
Select your folder from the list of stuff on your Desktop (or wherever) and click Import Selected.
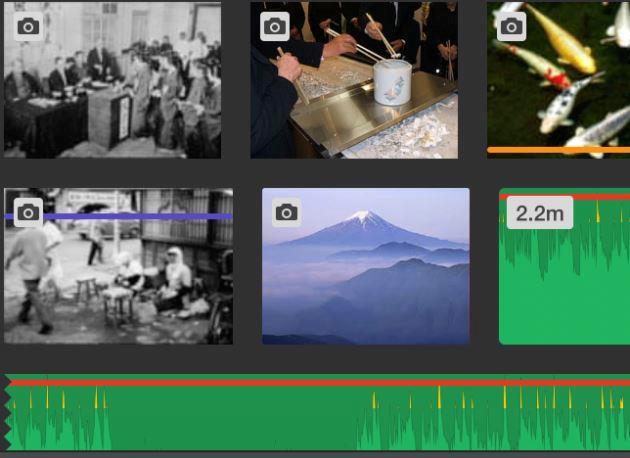
Now all your pictures and music are available (top) for you to click and drag to the timeline. We’ll cover that in Thursday’s installment when we actually make a book trailer. Stay tuned for Part 2!
Candace Williams lives with her husband and beloved rescued Iggys (Italian Greyhounds) in Texas. Her first novel, THE EARTHQUAKE DOLL, was inspired by her early experiences in post-war Japan while her father was serving in the Korean Conflict. Learn more about Candace on her website and her Author Central page.

Wow, thanks! As luck would have it, I work on a Mac. Maybe I’m ready to say “Let ’em roll!”
That’s great – let me know if I can help. AND I hope you’ll share the trailer on IU when it’s done!
Looks pretty easy so far, Candace; looking forward to part 2.
Thanks, Melissa